
USER PROPERTIES
Capture everything you know about a visitor without identifying them personally
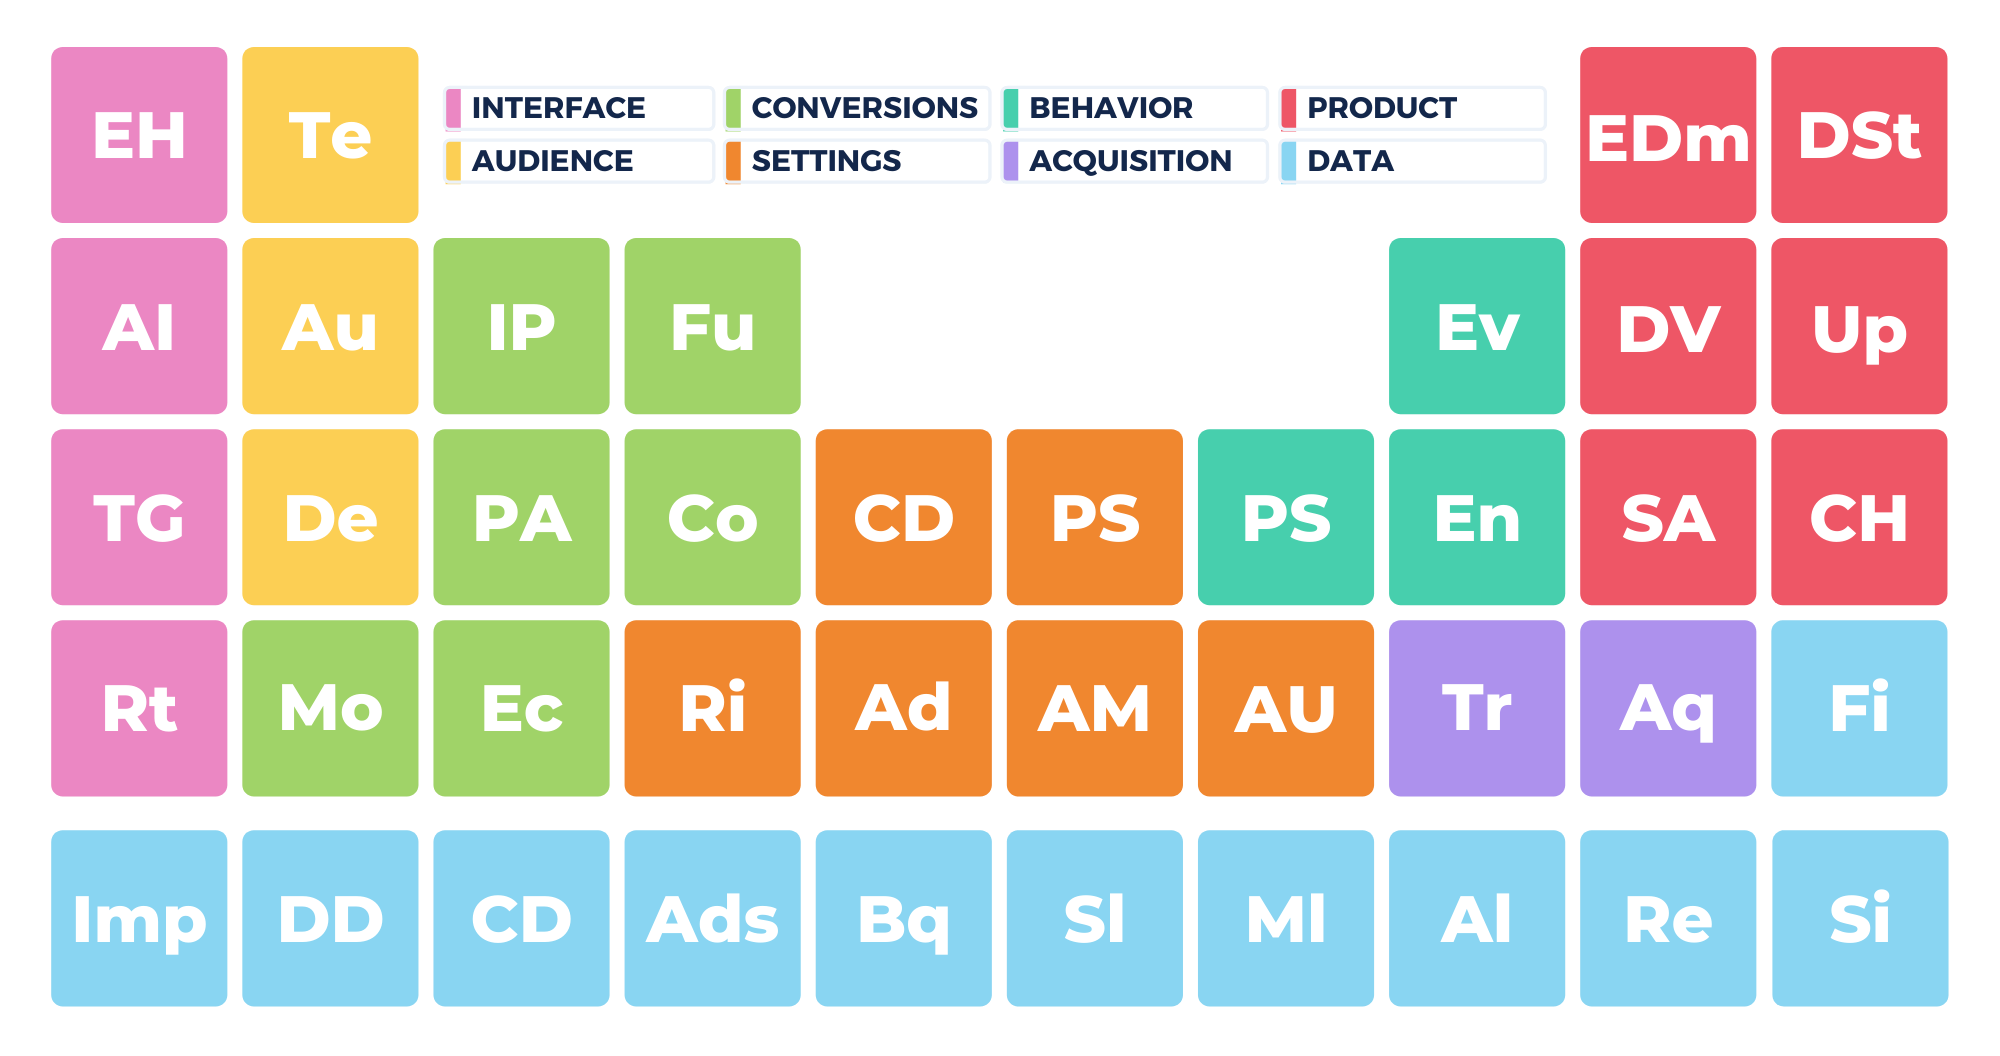
Let’s remind ourselves of how the data structure works in GA4 by referring to this visual:

- It’s about Users and Events (rather than hits)
- Everything you send into GA4 is an Event with some Parameters
- You have to tell GA about these parameters, otherwise they are hard to find
- These defined event parameters are called Custom Dimensions / Custom Metrics
So far, we haven’t looked too much at user properties but these are very powerful in GA4. User properties can help you do segmenting because you don’t need to keep defining and applying properties to that segment. A user property is permanently tied to that user so they can always be found in that cohort. This means you don’t need to worry about data sampling or running complicated reports because those properties are predefined and tied to the data.
In GA4, you can define up to 25 user properties, not counting your event custom dimension. That works out at a 150% increase in the number of dimensions compared to GA3 (50 vs 20).
Setting up User Properties
The actual setup works in a similar way to how you set up custom dimensions from events and has two parts:
- Send properties about a user into Google Analytics (via parameters or GTM)
- Tell Google Analytics to accept these parameters and generate reports
Google have provided some setup guidelines to help you, although their guide will show you how to do it with the tracking code and in this lesson we will see how to do it with GTM.
Step 1: Send user properties into Google Analytics
It is up to you what user properties are useful to you, but some examples would be profession, height, high-value customer, nationality, etc. Essentially, things that you can use to define a user that don’t change very often. These shouldn’t be things that are unique to a single user though e.g. credit card details, email address, etc.
To find some user properties that you want to create, go to the data layer screen in your Tag Manager account to see what values you are tracking and find the ones you want to recreate in GA4.

Or, on the User Properties page of your Analytics account, click Create first user property.

Give the property a name and a description and click Create.

With the new property created you can Edit, Archive or Mark as NPA (no personalized advertising).

Click New User Property to add as many new properties as you need.

Step 2: Tell Google Analytics to accept these parameters
In GTM, open your GA Configuration Event and under User Properties, click Add Row.

Copy the property names from those you just created in GTM.

Paste them into the Property Name field.

In the Value field, copy the values from the data layer you looked at earlier in GTM.

Paste these into the Value field.

Testing your Setup
In GTM, enter Preview mode, then go to your site and navigate to test if your activity is being tracked correctly.

Then, go to the debugger in Analytics to see your data being tracked.

Key Resources
Firebase User Properties support article
Key Takeaways
- User Properties are a great addition to GA4
- You can define up to 25 user properties and use to build audiences
- This will make life easier than the old way of segmenting in GA3
- It’s especially useful for brands who have lots of data to analyze
- When you set this up you need your GA settings + properties added to code